
Practical guide
What this guide solves
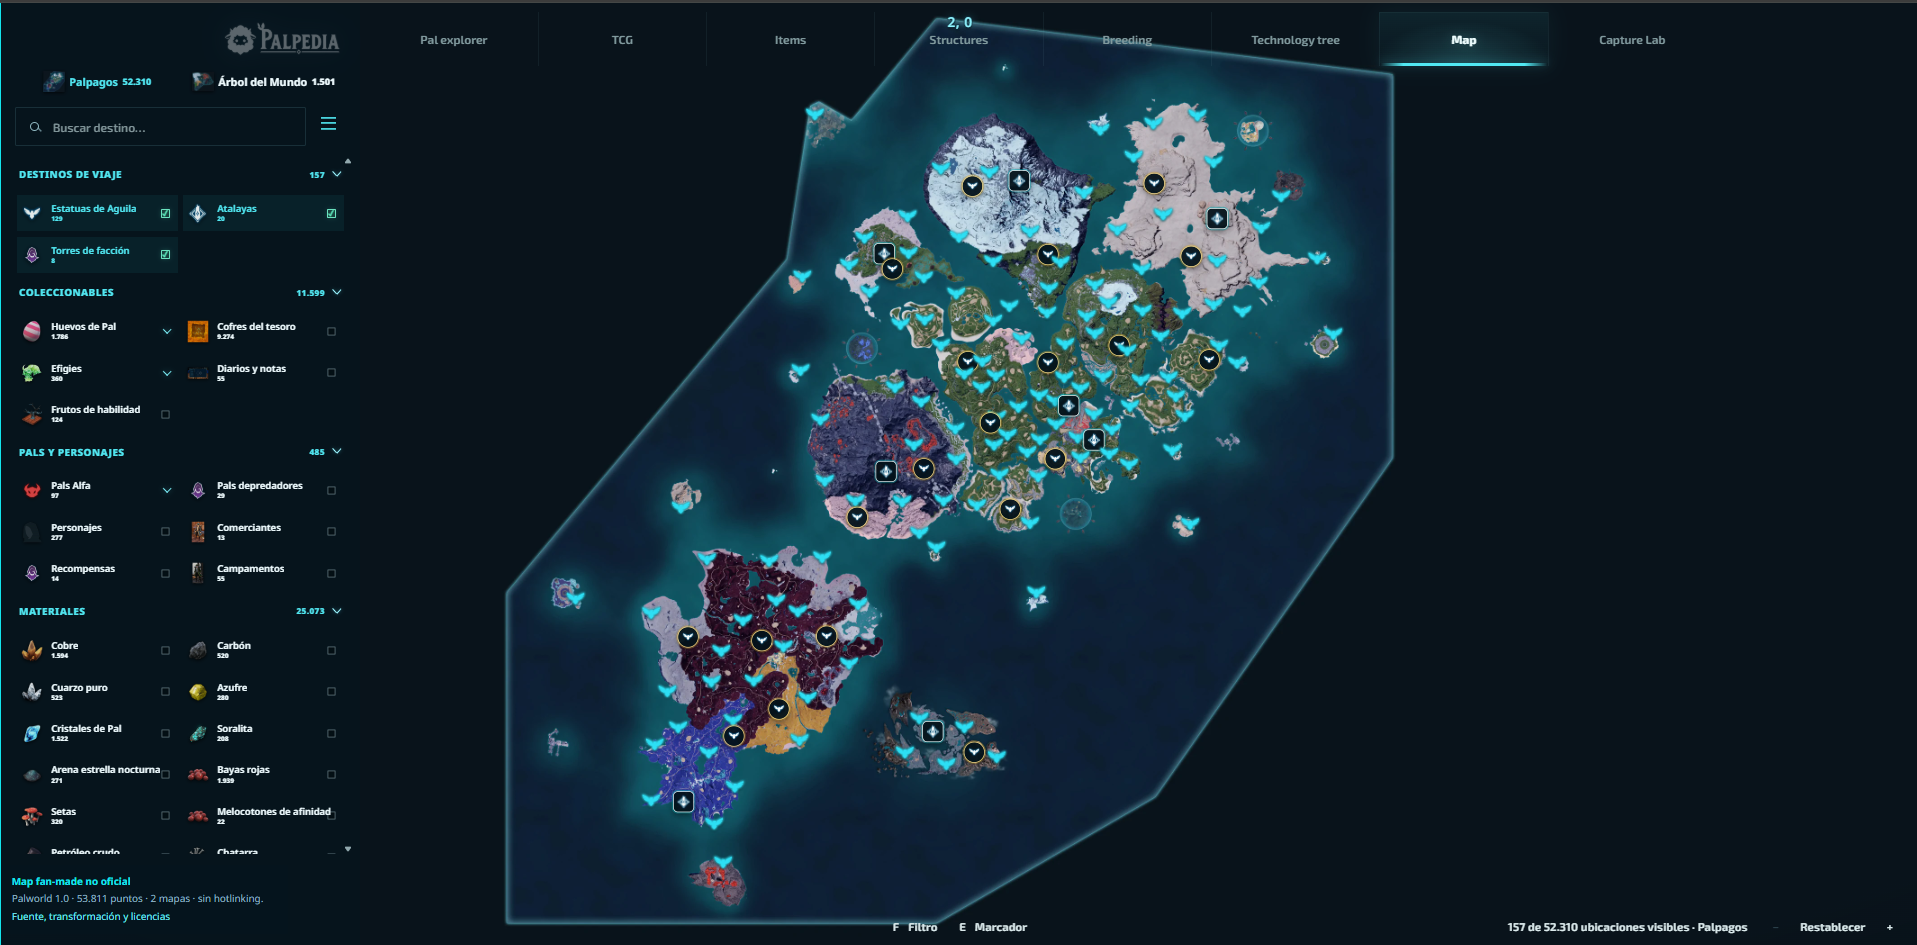
Use Palpedia's Palworld 1.0 Paldeck and interactive map together to find habitats, Alpha bosses, dungeons and the fastest route to any Pal.
Use the matching Palpedia tool while you read.
Search the Palworld mapLocations
Confirm the exact Pal first
Search the Pal explorer before opening the map. Variants can have similar names but different elements, Paldeck numbers and habitats, so confirm the exact profile you need before planning a route.
The profile also shows work suitability, stats and skills. That context helps decide whether capture, breeding or a later region is the sensible route.
Locations
Use only the map layers that answer the question
- Open the interactive map and search the Pal by name.
- Enable Pal and Alpha-boss layers first; leave unrelated resources hidden.
- Add fast travel and dungeon layers only when they help the route.
- Inspect the marker details before travelling so you do not confuse a normal habitat with an Alpha encounter.
- Share or save the map state when coordinating the route with another player.
Locations
When breeding is the shorter route
A map location is not always the fastest acquisition path. If the Pal is locked behind a dangerous region or rare encounter, use Pal Finder to check whether two Pals already in your box can produce it.
Compare travel cost with breeding cost, then choose one plan. Palpedia links the Paldeck, map and breeding tools so the answer does not end at a static location list.
Locations
Check the data date after world updates
Pal locations can move when the world map, Alpha encounters or dungeon pools change. Palpedia displays its source snapshot and review date so you can distinguish current 1.0 data from an older Early Access guide.
Verification
Sources and review notes
Sources stay visible so this answer can be checked after patches. Palpedia distinguishes installed game data from third-party field reporting.
Keep learning
Related Palworld guides

Palworld 1.0 new Pals location atlas
A version-pinned field atlas for the full current 1.0 roster: Palpagos, the World Tree, encounter levels, night spawns and permanent Pal profiles.
Read guide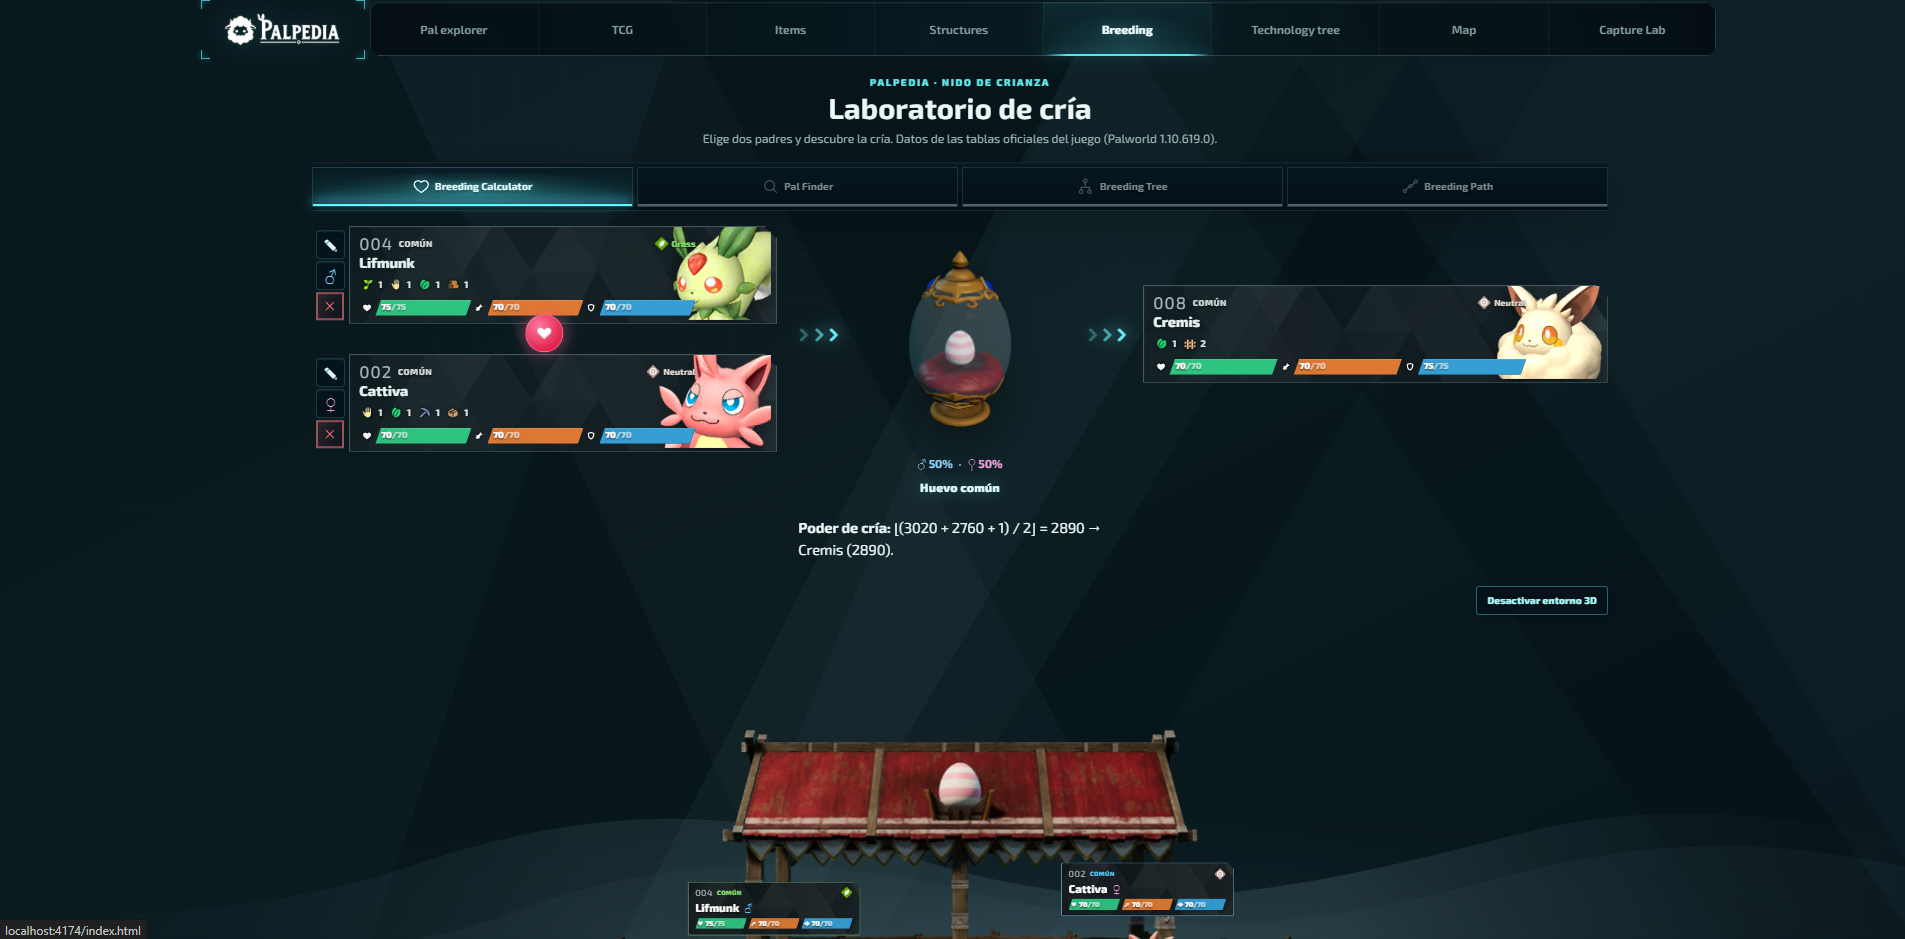
Palworld breeding calculator guide: parents, paths and trees
Choose the right calculator mode, find every parent pair for a target Pal and turn a long breeding chain into a plan you can actually follow.
Read guide
Best base Pals by work suitability in Palworld 1.0
A data-first shortlist for every base job, ranked by the unmodified work-suitability levels in Palpedia's current 299-Pal catalog.
Read guide